📔Trezor
Getting Started with Trezor
How Do I Connect My Trezor to ShapeShift?
NOTE: It’s important to update your Trezor’s firmware whenever a newer version is available. Be sure to have your recovery sentence before the initiation of any updates.
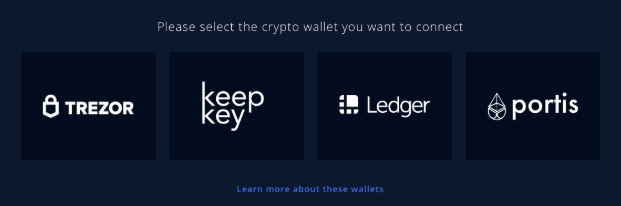
Once you know your Trezor’s firmware is up-to-date, it’s time to get started. First, head to beta.shapeshift.com. If you have not connected a wallet previously, the dashboard should prompt you to “Create or connect a wallet”. Make sure your Trezor is plugged in and click the Trezor logo.
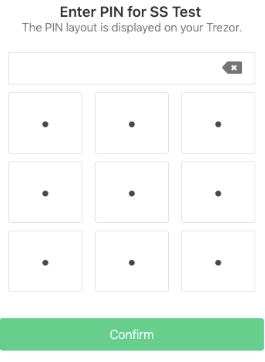
A new tab will open prompting you to enter your PIN. Use the cipher to enter your PIN and click “Confirm”.
Click "Export".
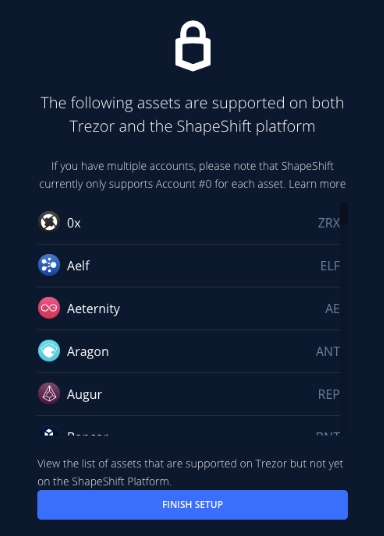
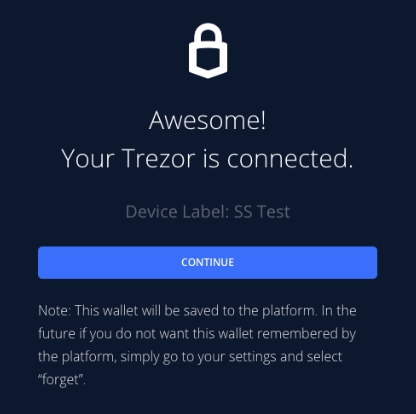
That’s it! Click “Continue” and then “Finish Setup”.
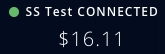
You should now see that your assets have loaded and your Trezor says that it is connected at the top right of the page.
How to Send
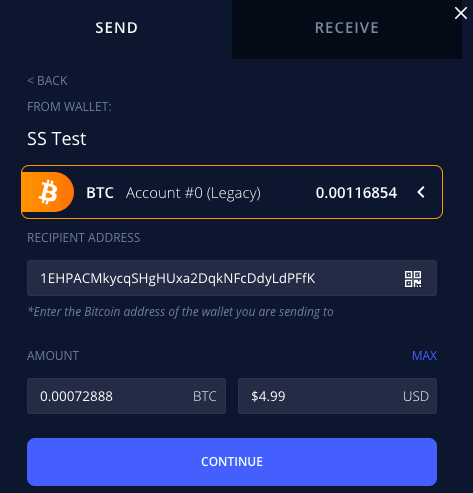
At the top of the page, click “Send”.
Enter the address you wish to send to under RECIPIENT ADDRESS. Click Continue.
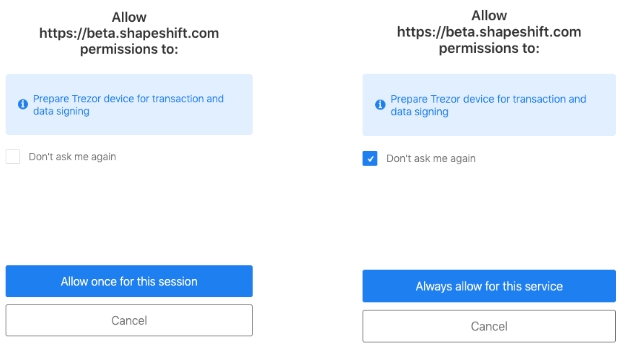
A new tab will open. If you want, click the “Don’t ask me again” checkbox to save time on future sends. Click “Allow”.
You may be asked to enter your PIN again. If prompted, do so.
Follow the instructions on your Trezor to confirm the send.
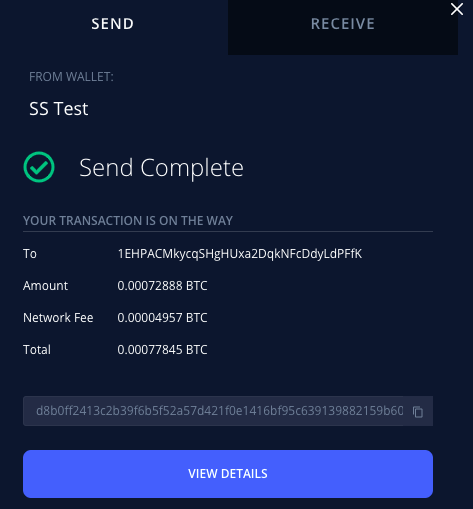
If successful, you should see something similar to this:
*Clicking the VIEW DETAILS button will open the corresponding block explorer showing your TXID and other transaction details.
How to Receive
At the top of the page, click “Receive”.
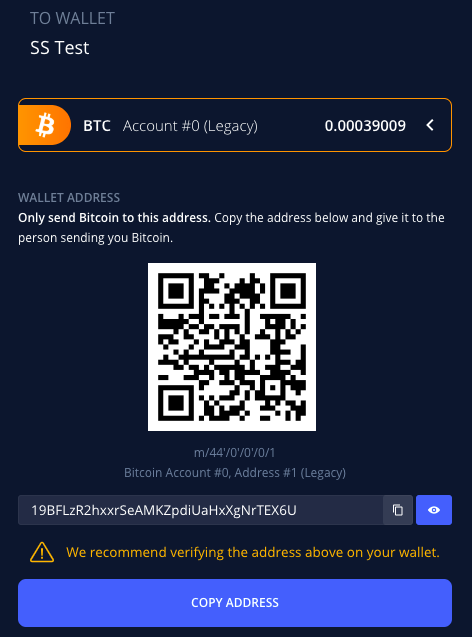
Select the asset you intend to receive.
Verify that the address displayed on the Platform matches the one on your Trezor. Click the eye icon to “Show on Wallet”. Your Trezor should now display the address. Confirm on your device that the address is correct.
You will now see that the address has been verified on your wallet.
Either manually copy the address or simply click the “Copy Address” button.
Additionally, you can scan the QR code if you are sending funds from a mobile device.
You’re ready to receive funds!
Last updated